
Banner
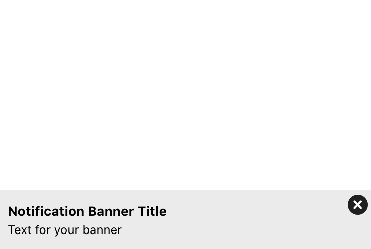
The banner is a notification-like message that appears at the top of the screen in your app. Banners are great for driving or rewarding user behavior inside your app without covering the bulk of the current screen.

Create a banner message
To create a banner message, create a new In-app message action, then select the Banner template. This will move you to an editor where you can compose your message.
Write the message. Enter the message title under Title > Text value, then enter the message text in Message > Text value. It’s best to keep the length of these fields to a minimum, but you can increase the height of the message to accommodate longer messages.
Set your Sub-Delivery. Banners are in-app messages, so they must be triggered by some user action. Under Sub-Delivery, select the Display when criteria to determine when your message should appear.
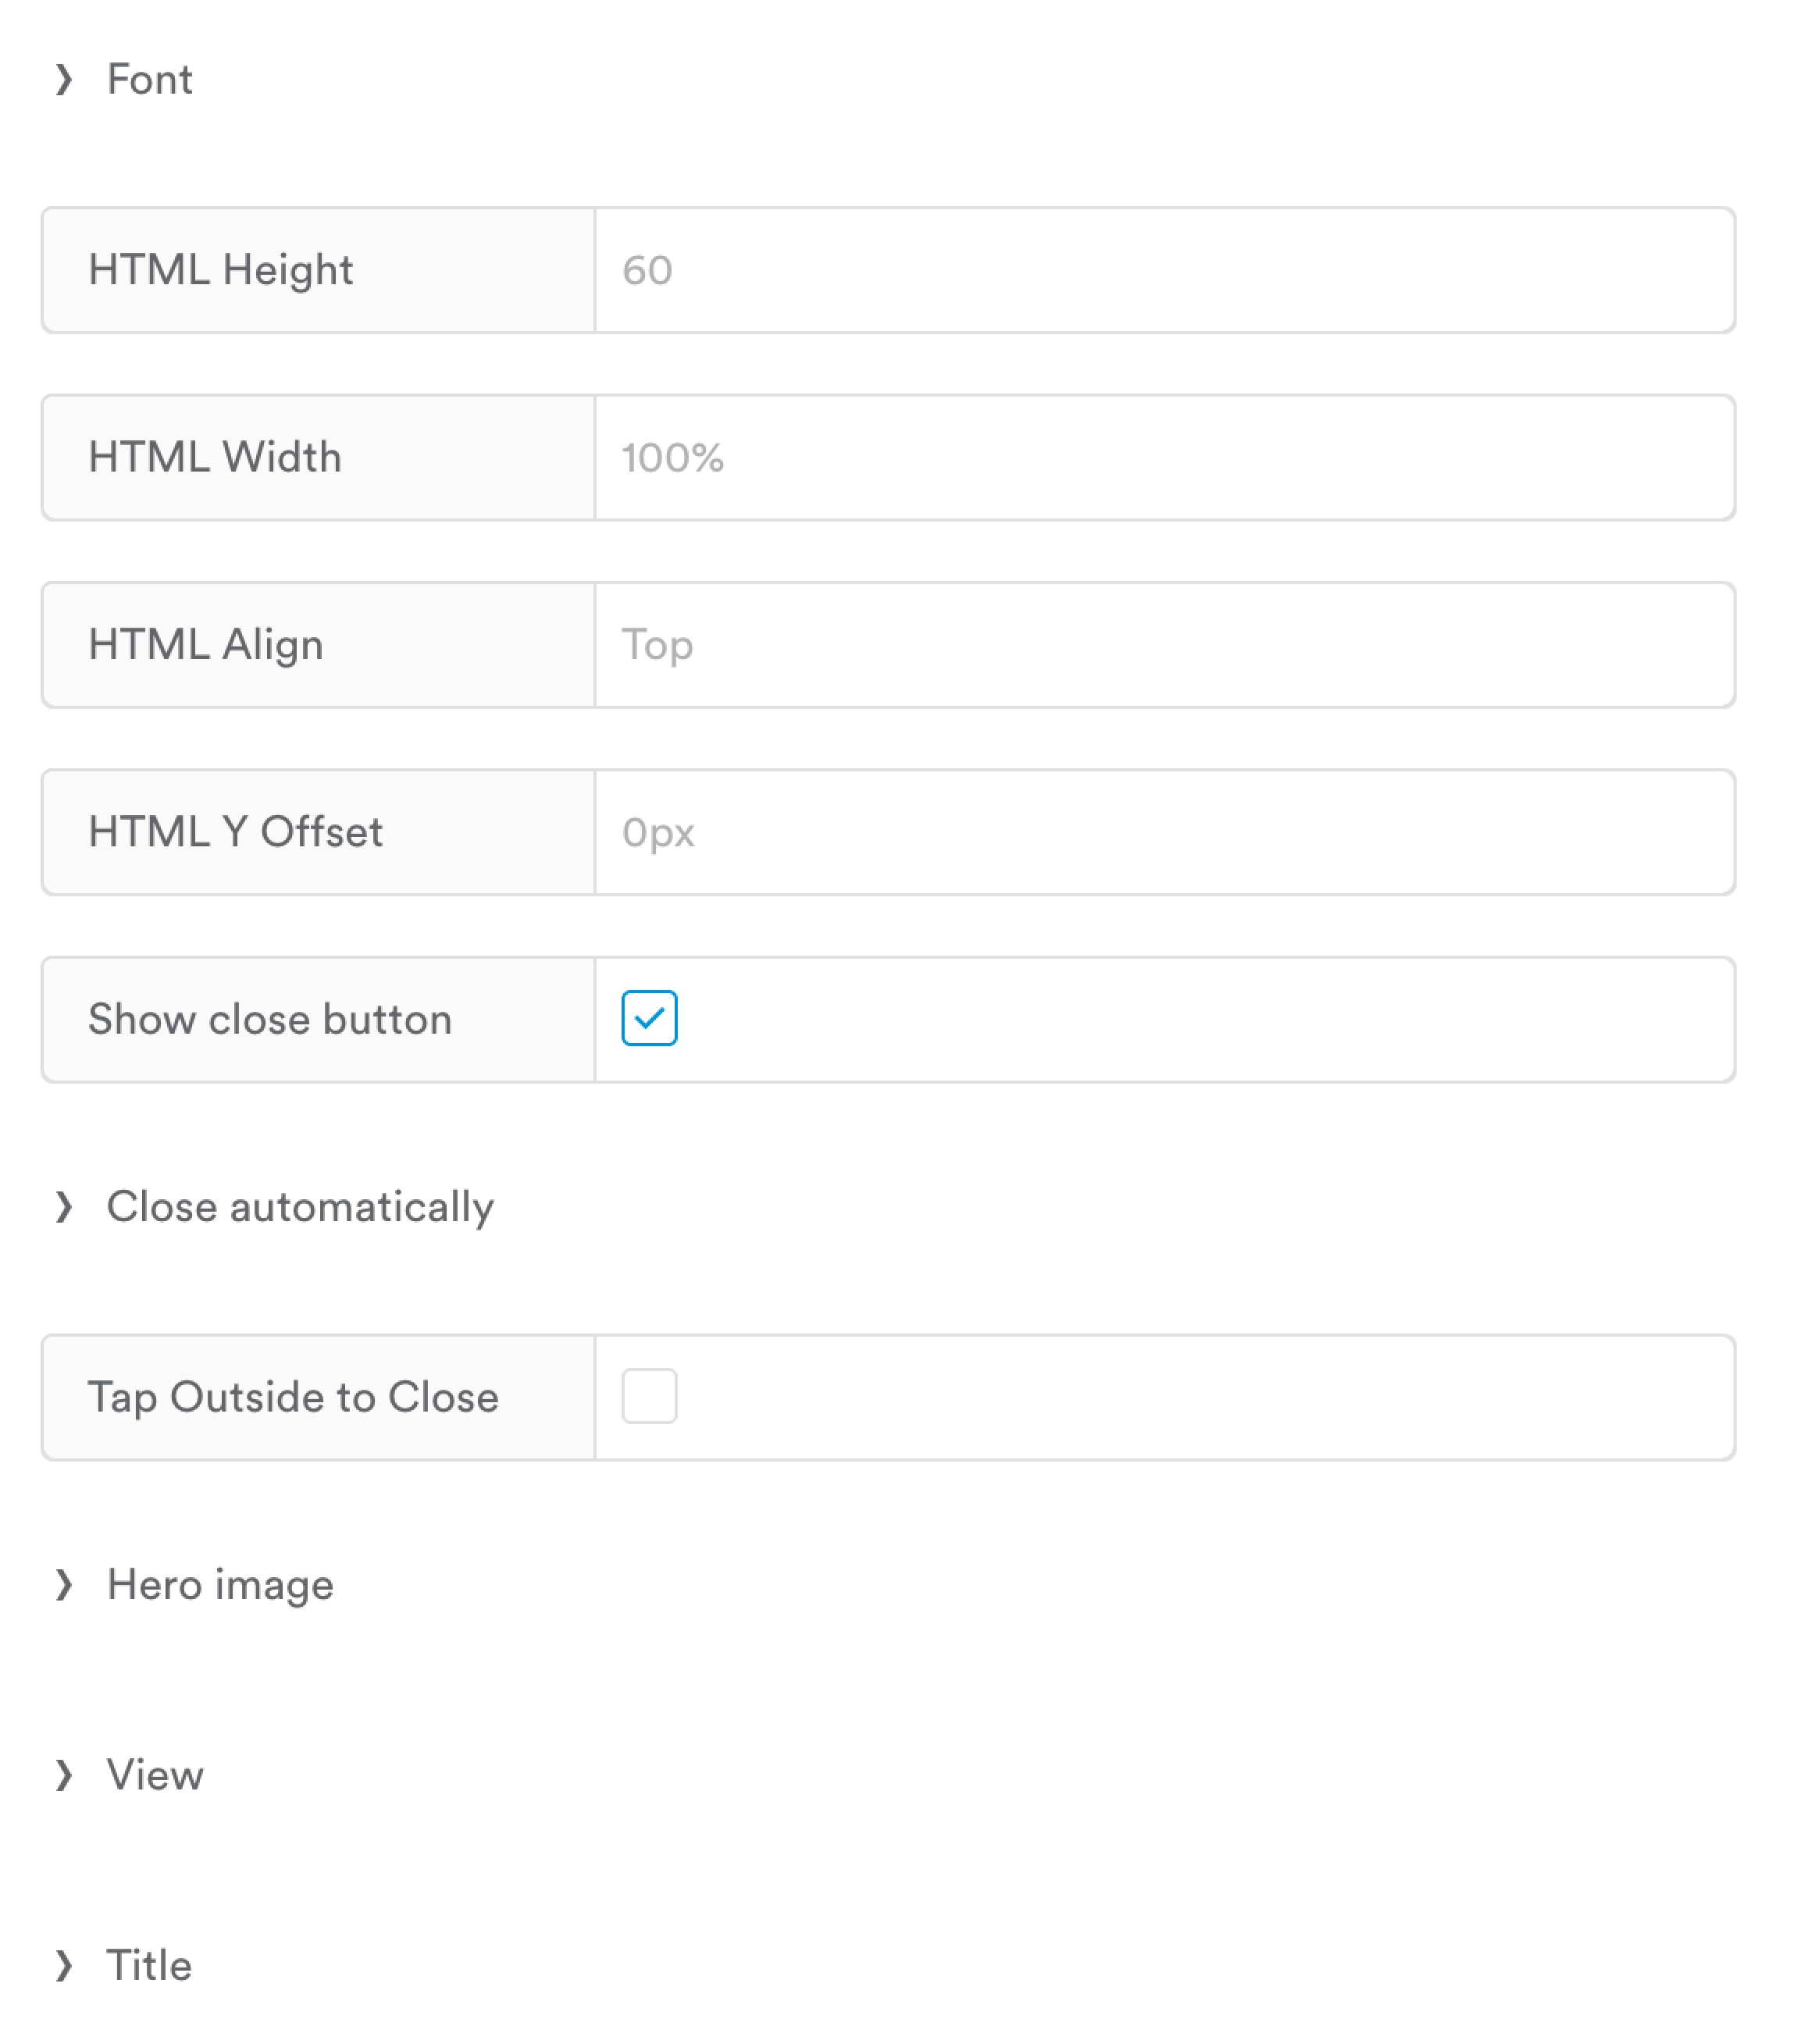
Automatically close the message. Set Close automatically to “true”. Set Delay to the number of seconds the message should display before closing. If you enable this option, you can hide the close button at the top right by setting Show close button to “false”.
Image nameThe name of the image should not contain any special symbols or any whitespace. If such exist, the image will not be rendered inside the Banner or can prevent from displaying the whole Banner.
Change the style
Change the banner size. You can change the height of the banner, and even segment banner height by device (so the banner is larger on the 6 Plus vs. the iPhone 6). Under HTML height, enter the height in pixels. To segment, click the + icon and choose your segment criteria.
If you are not using a background image, we recommend leaving the banner width set to 100% to accommodate all devices with different screen sizes.
Show banner at the bottom of the screen. The banner appears at the top of the screen by default, but you can set it to display at the bottom of the screen. Under HTML Align, enter “Bottom.”
Add a hero image. You can add a hero image on the left or right side of the banner message. Click Hero image > Image to open the Image picker, then select the image. Change Display left of message to “false” to display it on the right.

The width of the hero image is fixed at 100px and the height is set to 100% of the message height (defaults to 60px). For best results, use an image with an aspect ratio of 100:60. Remember, changing the message height will change the hero image's aspect ratio. Increasing to 70px, for example, would change the required ratio to 100:70.
Add a background image. Set the message Width equal to the image width, then click View > Background image to open the Image picker, and select the image.

For consistent results, set the message width equal to the image width. Otherwise, the background image will be letterboxed on some devices or in landscape orientation. Setting the two widths equal will ensure the full image is always displayed (on devices wide enough to display it).
Change background, text, and border colors. You can set the background, text, and border colors using rgba values (manually or with our color picker). You can also use hex values. To use hex, highlight the rgba value, then enter the hex value to overwrite it.

Updated 11 months ago