
Create a multi-message campaign
Create a campaign draft
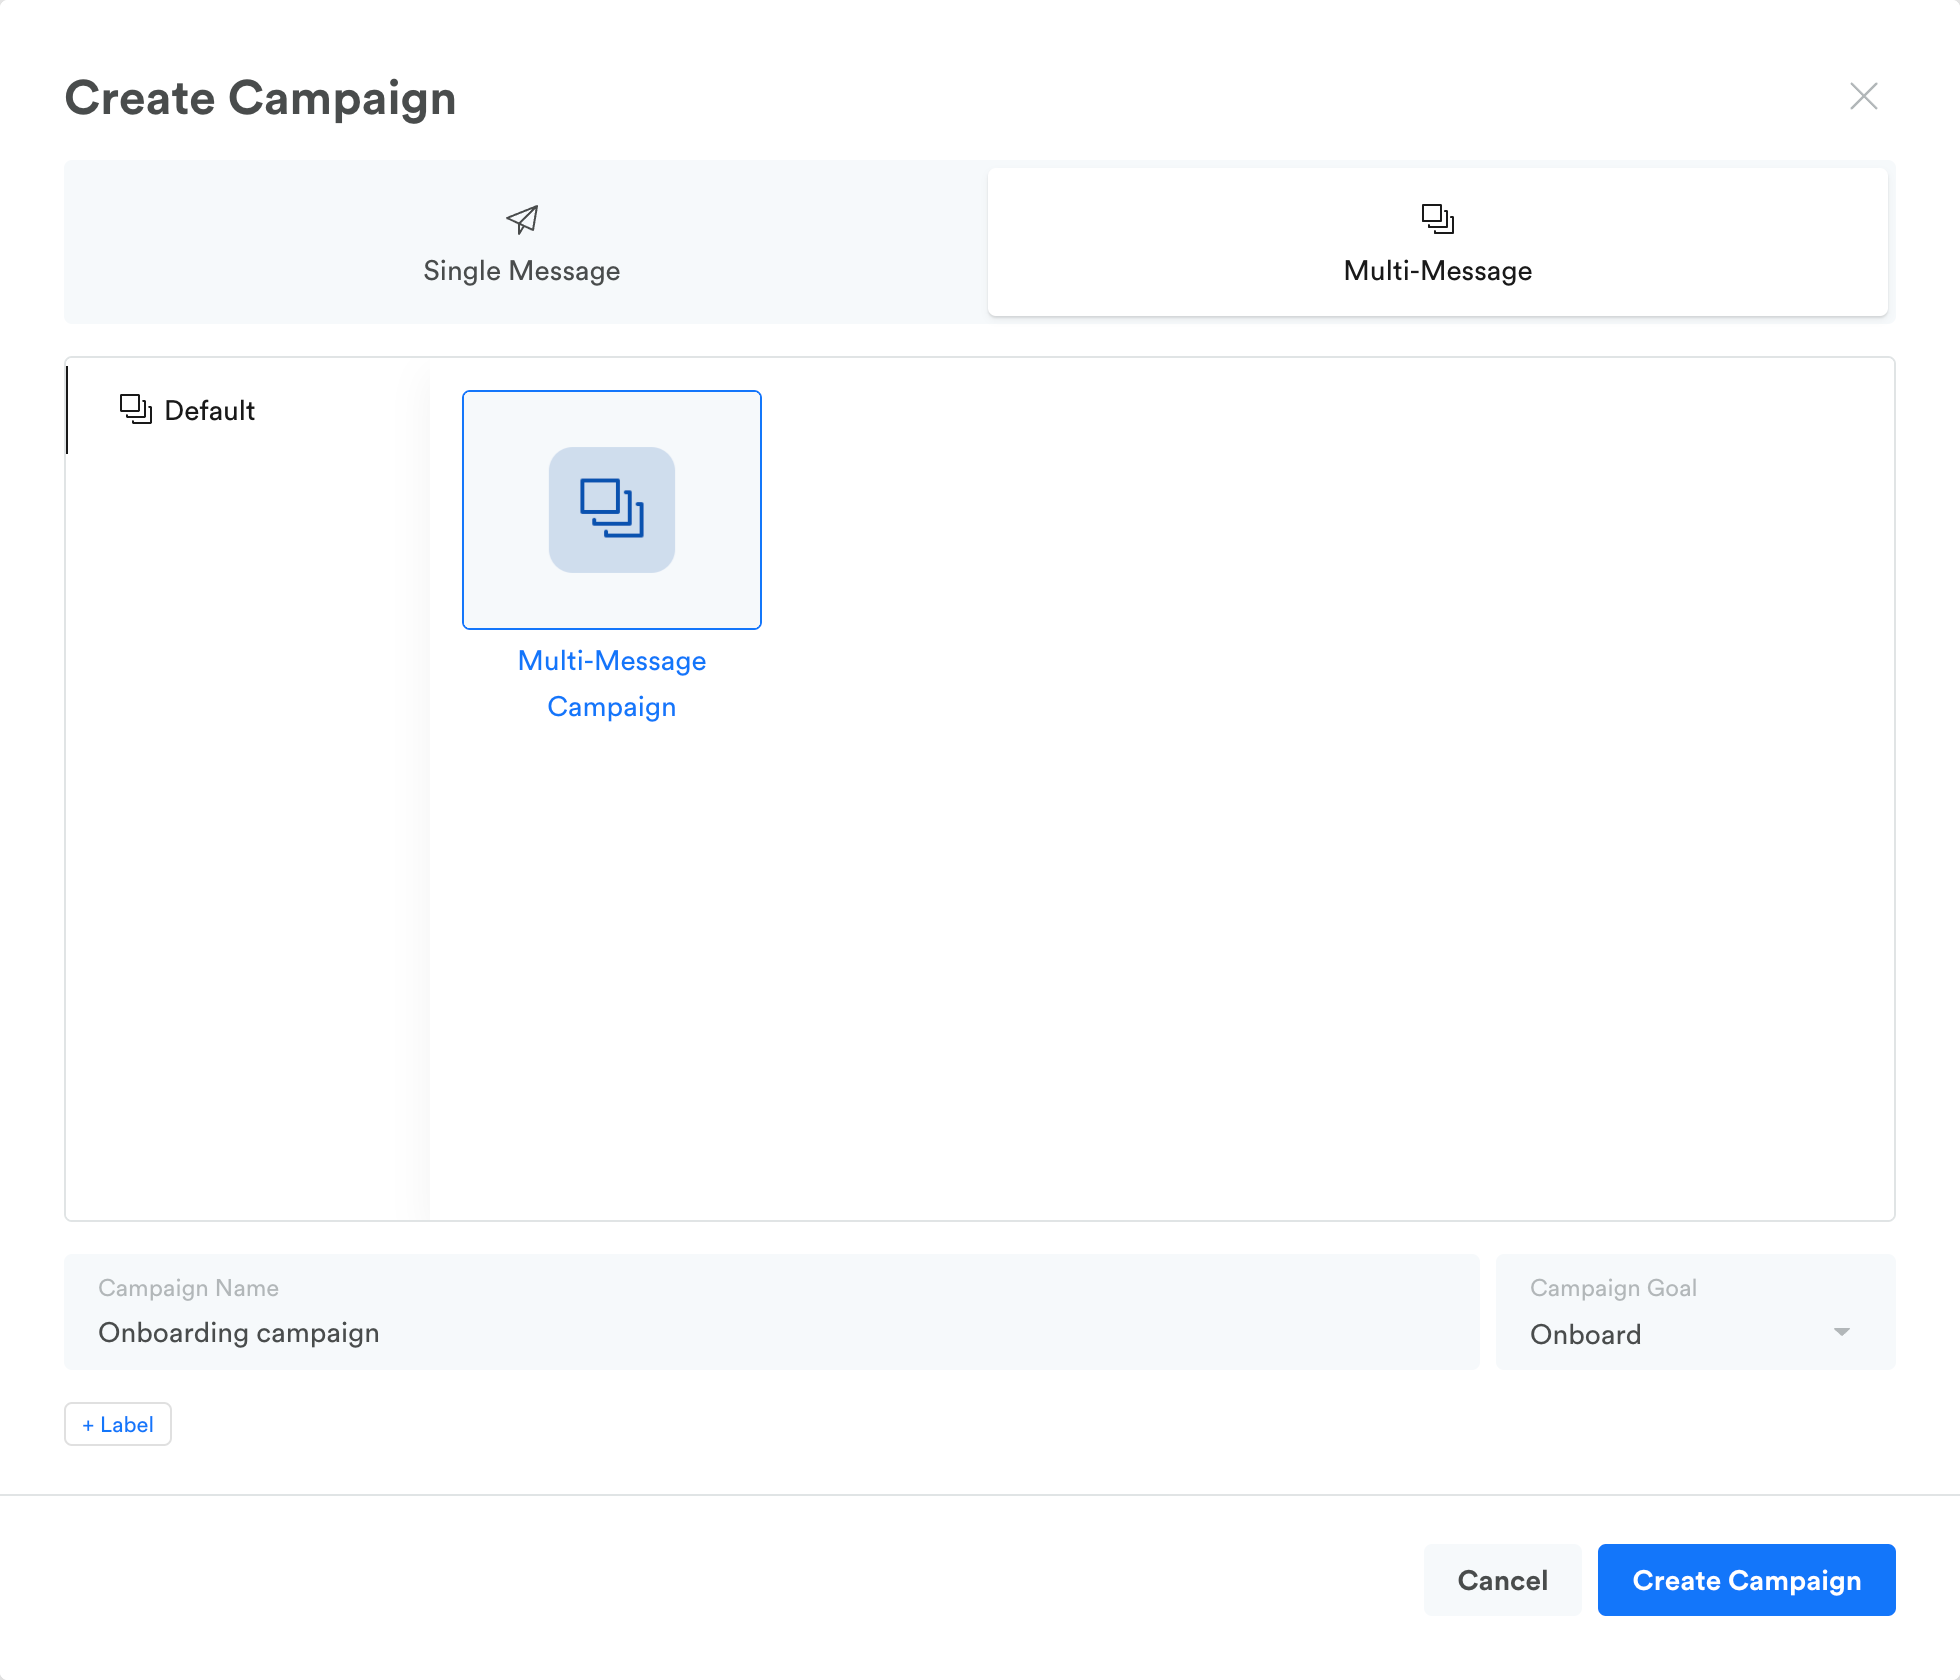
To create a campaign draft, go to the Campaigns section and click the Create Campaign button at the top right.
The "Create Campaign" dialog appears.
-
Select Multi-Message campaign type
-
Enter a campaign name
-
Select Goal category (optional)
-
Click on Create Campaign to create the single message campaign draft
To publish the campaign, you have to complete without errors all campaign composition and orchestration steps:
- Audience
- Delivery
- Actions

1. Audience
The Audience step determines which of your users can enter the campaign.
Narrow the audience by including or excluding a saved audience. Also, by defining additional rules from the Advanced Mode.
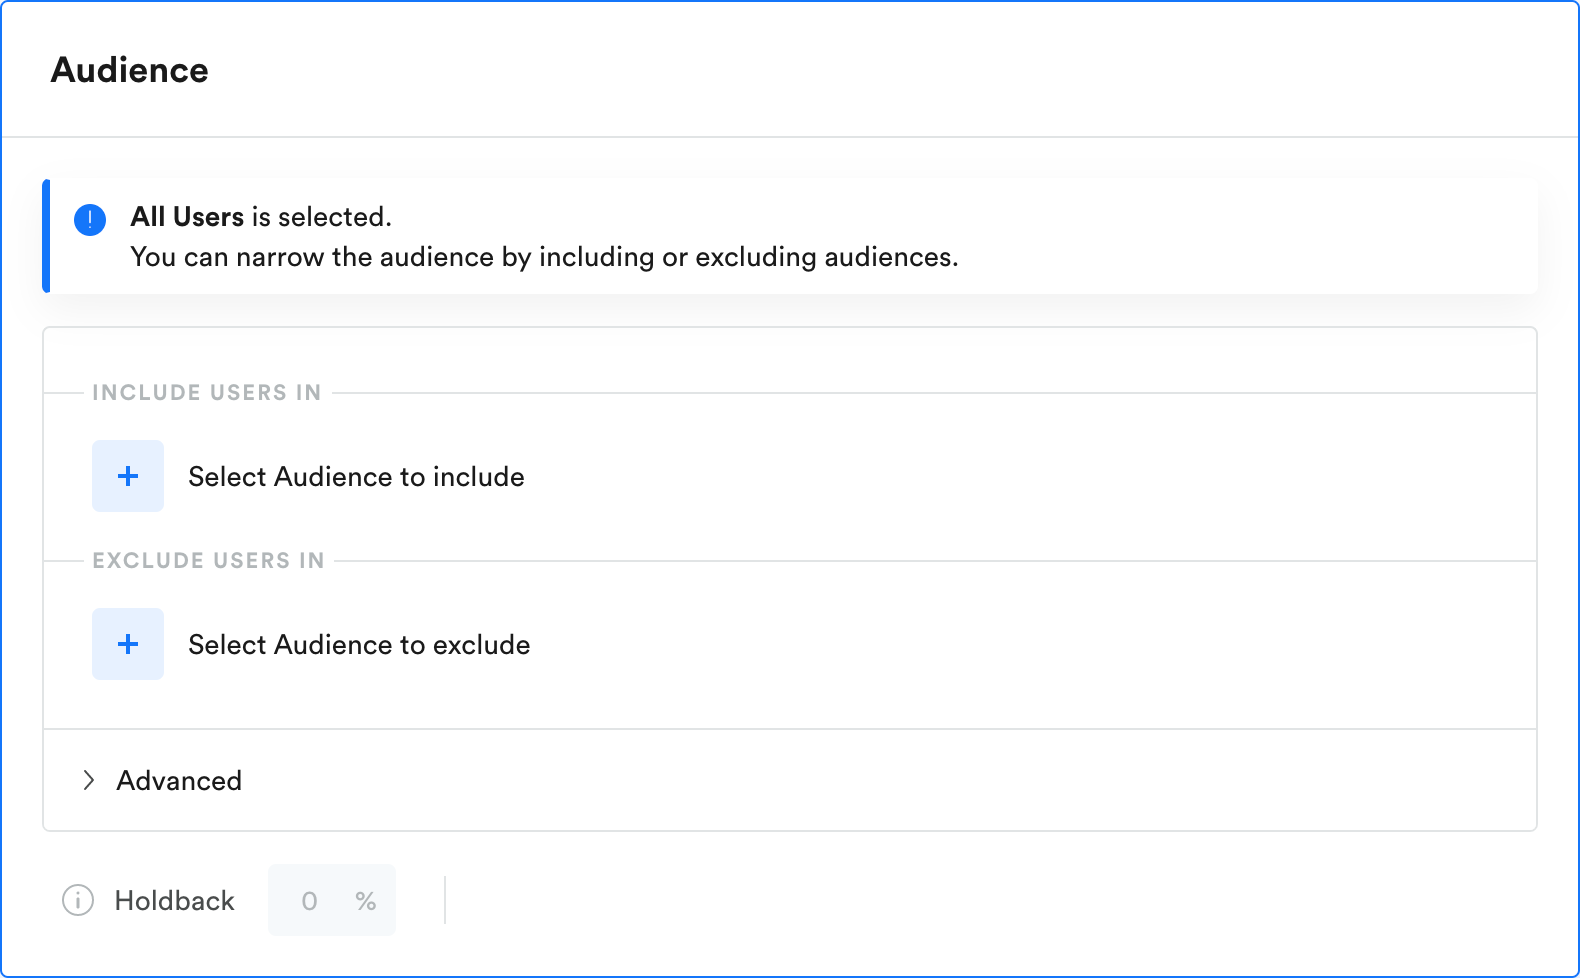
By default, the audience for a new campaign is set to All Users.
For more information, see Audience.
2. Delivery
The Delivery step is where the delivery method, campaign start, and duration are specified.
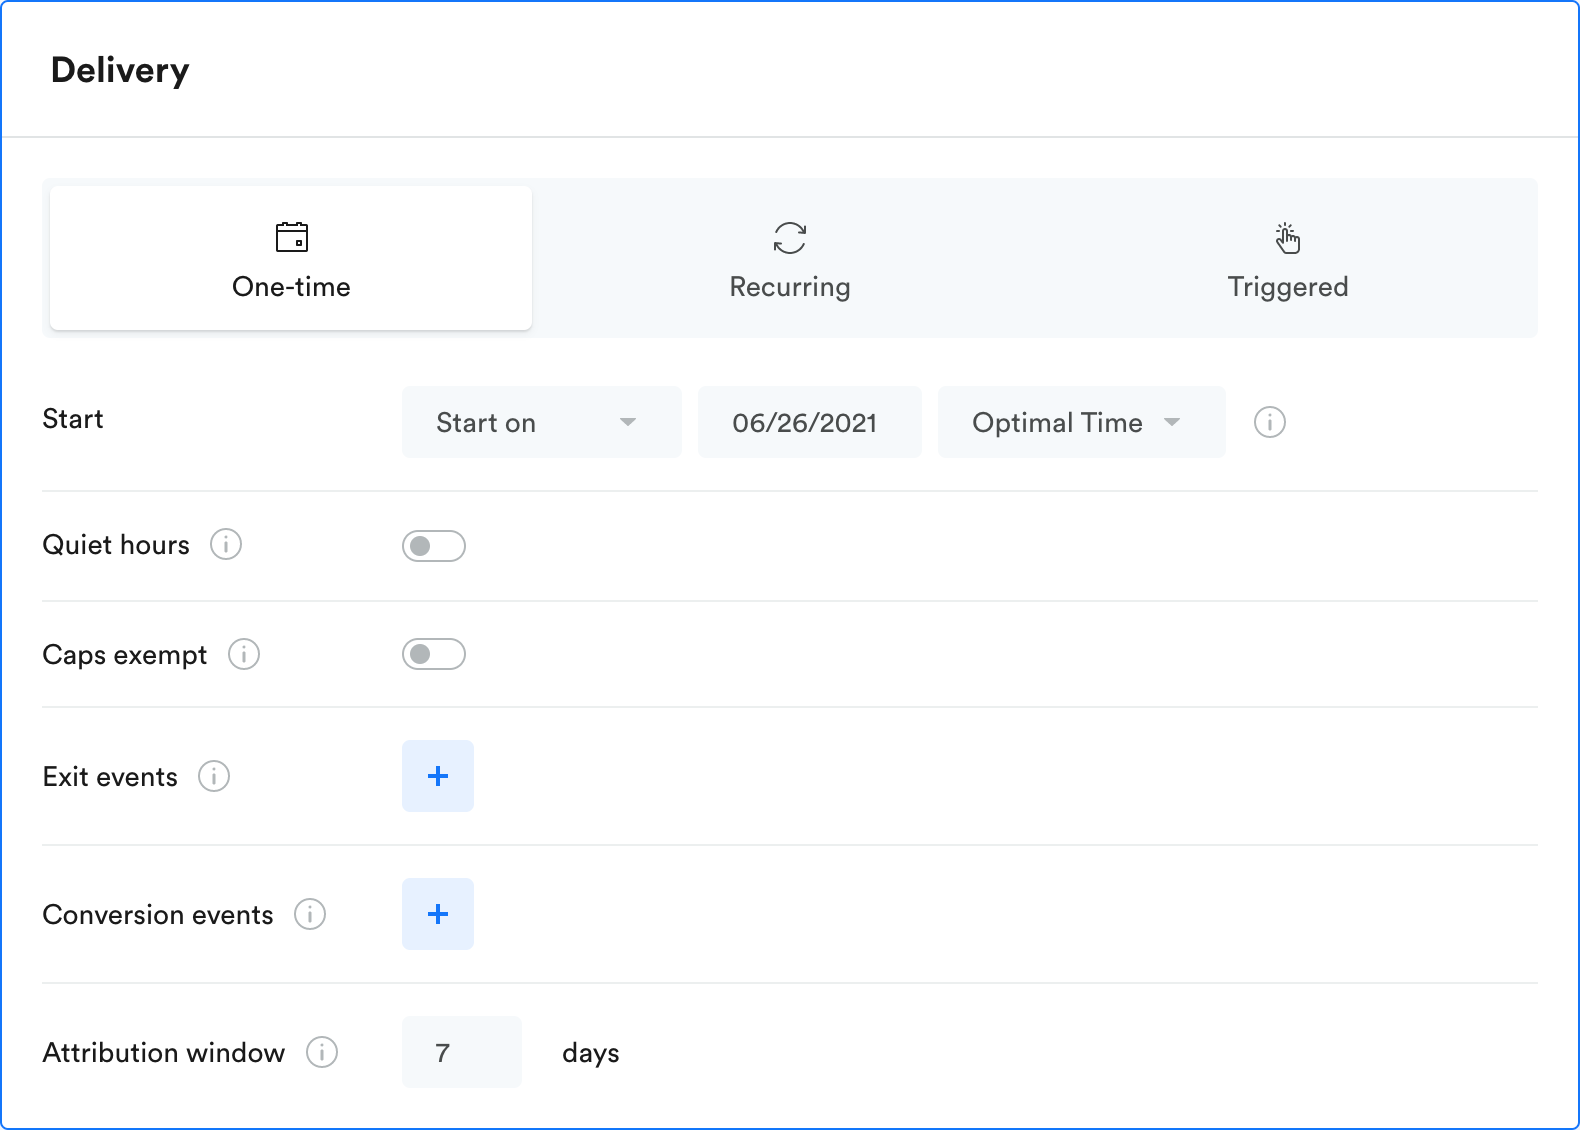
Select between three different delivery methods:
- One-time delivery - the target audience enters the campaign on the scheduled start date and time.
- Recurring delivery - the target audience enters the campaign on a predefined recurrence pattern.
- Triggered delivery - targeted users enter the campaign only when they complete a specific action.
You can also choose optional settings like Delivery limits, Conversion Events, Quiet hours, and more.
For more information, see Delivery.
3. Actions
Go to the Actions step to add the action(s) you want to deliver.
- Select the action's engagement channel and template
- Edit action's Content, Sub-Audience, and Sub-Delivery.

Use the stepper navigation to scroll between different steps.
-
Add another action (optional)
Campaigns can include a series of multiple actions (a chain).
-
To add more Actions, click the + button below your current action.
-
You may want to create a separate path or branch for some users in your campaign.
Example
You create an action that asks if users would like to receive tips from your app. Depending on their choice, you show different actions.
-
For more information, see Actions.
4. Run an A/B test (optional)
Any campaign action can be A/B tested.
- Select the action you want to test and click A/B Test in the Preview area.
- Edit the settings for each variant in the split pane.
- Click the + button to add a new variant.
For more information, see A/B test your actions.
5. Review and publish
When all steps are completed without errors, the Review & Publish button is enabled. Click it to review the campaign in the summary confirmation dialog:
- To start the campaign, in the summary confirmation dialog click Publish Campaign.
- To cancel the campaign start and make additional edits, in the summary dialog click Cancel.
Based on the delivery configuration the publish button name may differ as it communicates what happens with the campaign after the button is clicked.Examples
One time delivery with immediate start -> Review & Send
Recurring delivery with immediate start -> Review & Start
Recurring delivery with start time in the future -> Review & Publish
Campaign management options
From the ••• (More Options) dropdown you can:
- Review and edit Campaign Settings such as Name and Labels
- View Campaign Summary
- Duplicate Campaign
- Delete Campaign
For more information, see Managing Campaigns.
Updated 11 months ago