
Push pre-permission
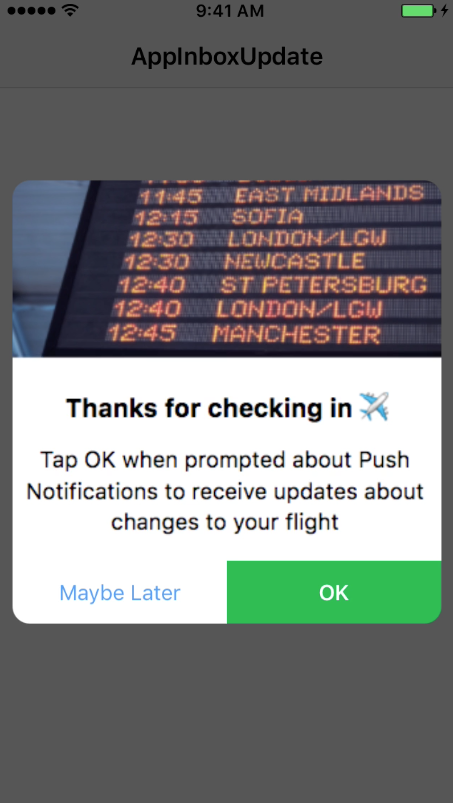
Push pre-permissions are a single-purpose lead-in message for the iOS and Android push permissions prompts. Clicking OK will always display the iOS or Android system-level push permissions prompt. Clicking Maybe Later will save the permissions prompt for another time.

You can edit the text on the Accept (OK) and Cancel (Maybe Later) buttons.
Leanplum Android SDK 7.1.0 supports Push Pre-Permission and Register For Push message templates. See more information - Android 13 Notification Opt-In
To create a pre-permission message, choose in-app message as your campaign action type, then choose the Push Pre-Permission template.
Edit
Next, you'll move to an editor where you can customize your message content.
| Title | |
| Text | The title of your message. |
| Color | The color of the title text. You can input the rbga values, a hex color code, or use the color picker. |
| Message | |
| Text | Your message's content, which can include emojis! 😎 To add other custom values like attributes and events, see Personalize a message {{. |
| Color | The color of the message text. You can input the rbga values, a hex color code, or use the color picker. |
| Background image | Click Choose an image to upload or select your background image. |
| Background color | The color of the message background. You can input the rbga values, a hex color code, or use the color picker. |
| Accept text | The text that appears on the Accept button. |
| Cancel text | The text that appears on the Cancel button. |
Add a hero image
Currently, the push pre-permission template allows you to customize the layout, title, and content of your message. You can also add a background image, background color, and more.
Push pre-permission messages are not rich html templates, so their customization options are more limited than some of our other message types. If you'd prefer a different message design, there are a couple of different ways to add a hero image or other elements to your pre-permission message.
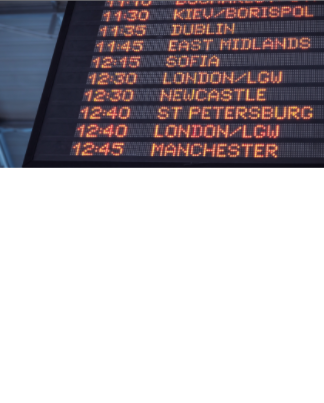
1. Use the background image as the entire message
If you choose this route, you'll have to include the message text in your original image design, then delete any text in the message itself. Since the design of the message is totally dependent on your background image, you can customize the layout/look of your message however you like.
Make sure you test your custom background image on a real device and adjust the message height and width to fit your background image.
2. Add a solid-colored buffer below your image where the message text can show.
This option may be better if you plan on re-using the hero image again with different messages, or if your message is using dynamic customization (jinja) or other custom values that would change the text from user to user.
Create a background image with a white or solid-colored section below your hero image — doing so should roughly double the height of your original image. The white block is where the message text from Leanplum will go.
Put your new background image in the push pre-permission template, then type your message in the message field as you normally would. Make sure to test the message on a real device before sending it out to users.
If the message doesn't fit right, adjust the white space or message length as necessary. You may need to add some space above your message in the composer to make sure the message shows up properly.

Note that with this method, we decided to type our message title directly in the message body field, so as not to cover the image.
You do not need to limit the target audience using "push support is off". The Pre-Permission message by default will only be displayed to users that have not opted in to push notifications.
Updated 11 months ago