Send an email campaign
You can send one or more emails as actions inside a campaign.
In the Actions tab of your campaign, add a new action and select Email as the channel. Then, select a template and start editing your email's content.
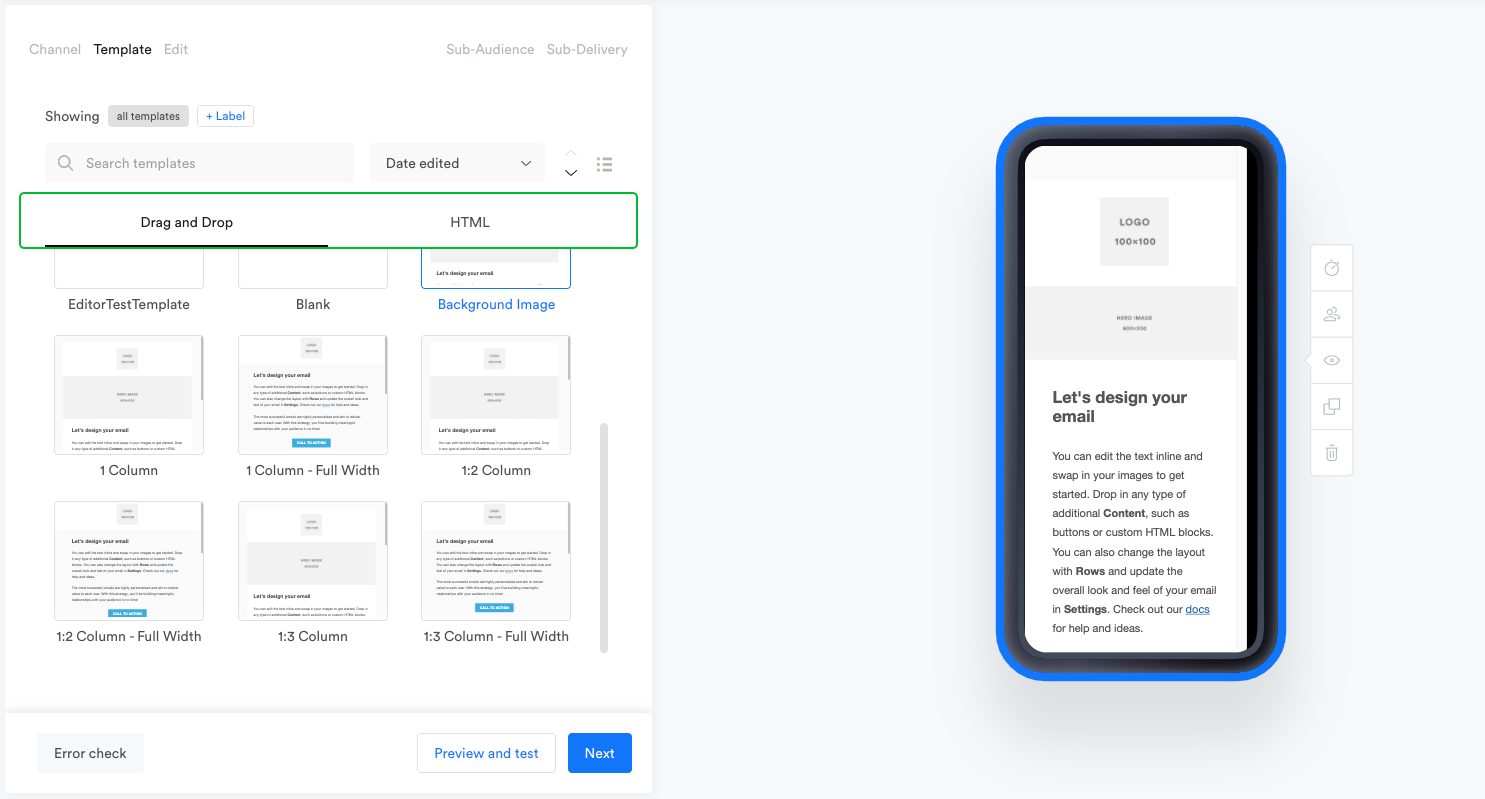
Select a template
Choose which type of template you'd like to work with — Drag and Drop or HTML — then select one of your templates from the list (or create a new template).
- Drag and Drop Email Editor. The easiest and quickest way for marketers to build device-responsive emails.
- HTML Email Editor. Gives HTML-proficient designers and marketers more control when customizing emails. Create HTML emails from scratch, or paste in HTML from another source.

To make changes to your master template designs, go to the Template Manager.
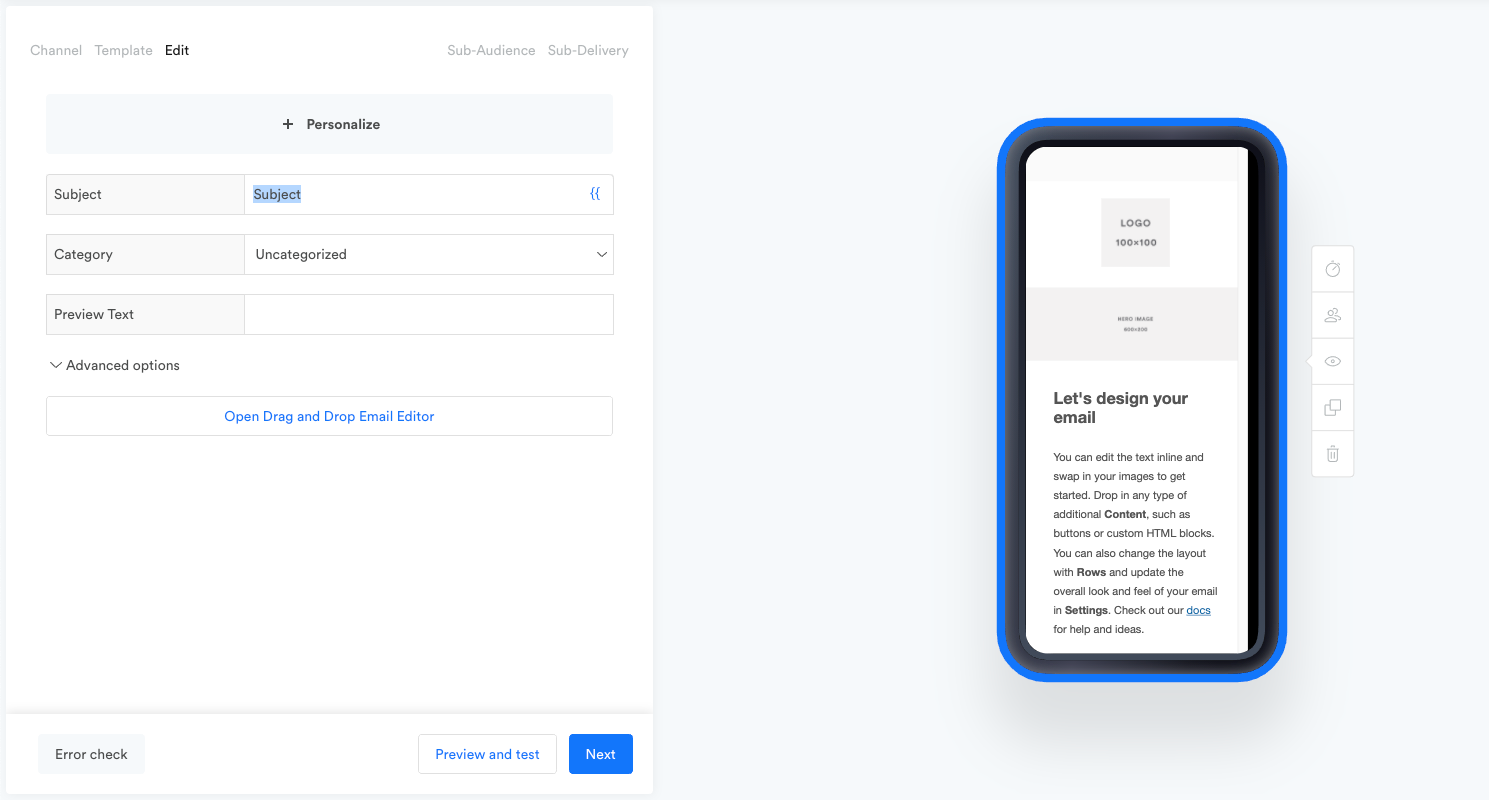
Give the email a Subject
After you select a template, write a Subject line for your email.

Add custom sender or recipient info (optional)
Click Advanced options to add custom Sender name, Reply-to email, and other settings.
Do nothing to use your default sender settingsAs long as you specified default settings in your Email setup, you don't need to edit anything under Advanced options. The Advanced options allow you to override these defaults for specific email campaigns.
Advanced options | Definition |
|---|---|
Sender email | The email address users will see in the "from" section. Align your Leanplum requested domain (yoursite.com) with your from: address ([email protected]). Defaults to the value you set in Email setup. The sender address must be valid and mailable to maintain compliance. Do-not-reply addresses tend to dis-engage users and are not recommended. |
Sender name | The name users will see in the "from" section. Use your brand name to identify yourself to users and inbox providers. Defaults to the value you set in Email setup. |
Reply-to email | Sets a custom email for replies from users. Provide a valid email address where users can reply. The domain does not have to be same as the Sender Email domain. |
Recipient email | The recipient email, usually set using handlebars — e.g. {{userAttributeActions](}}. Use dynamic values only in this field to avoid sending large volumes of email to a single inbox. If you want to test your email, use the Preview feature instead. |
Recipient name | The name of the recipient. Can also be set using a user attribute like "first_name". |
Create the email
Once the email has a Subject, click the Open Email Editor button to get started.
For more on editing emails and templates, see the Drag and Drop email editor and HTML email editor.
When you are finished customizing the content of your email for this campaign, click Save Changes.
Preview your email
You can preview email messages on-screen in the Leanplum dashboard, or send a test email to your inbox. To begin, previewing, click Preview and test, or the eye icon next to the device.
Edit Sub-Delivery
If you want, you can edit your email's delivery by adding a delay based on your campaign trigger or schedule date. By default, triggered campaigns have a 1-day delay. See Sub-Delivery and Sub-Audience for more.
Updated 5 months ago
