How to re-engage dormant users
A dormant or inactive user is someone who was active in your app for a while but hasn't been back for some time. By sending notifications to users who haven't opened the app in 5, 10, or even 30 days, you can keep your app top of mind and increase returning users.
To re-engage dormant users, we’ll need to track when users enter our app, then send delayed messages several days later inviting them back. The message delay will ensure only dormant users receive the campaign.
Follow the steps below to build a re-engagement campaign.
Getting started
First, create a new multi-message campaign from the Campaigns overview page. You can also copy an existing campaign if you already have a similar one built.
1. Goal category: Re-Engage users
- Select a Goal Category. For this campaign, select Re-engage — this category helps you organize your campaigns in the overview page.
See Goal category for more detail on using all of your Goal settings.
2. Target Audience: All Users
We want to re-engage any user who goes dormant, so we'll leave our audience as All Users. Our delivery and conversion settings will ensure that only users who haven't been in the app for a while receive this campaign.
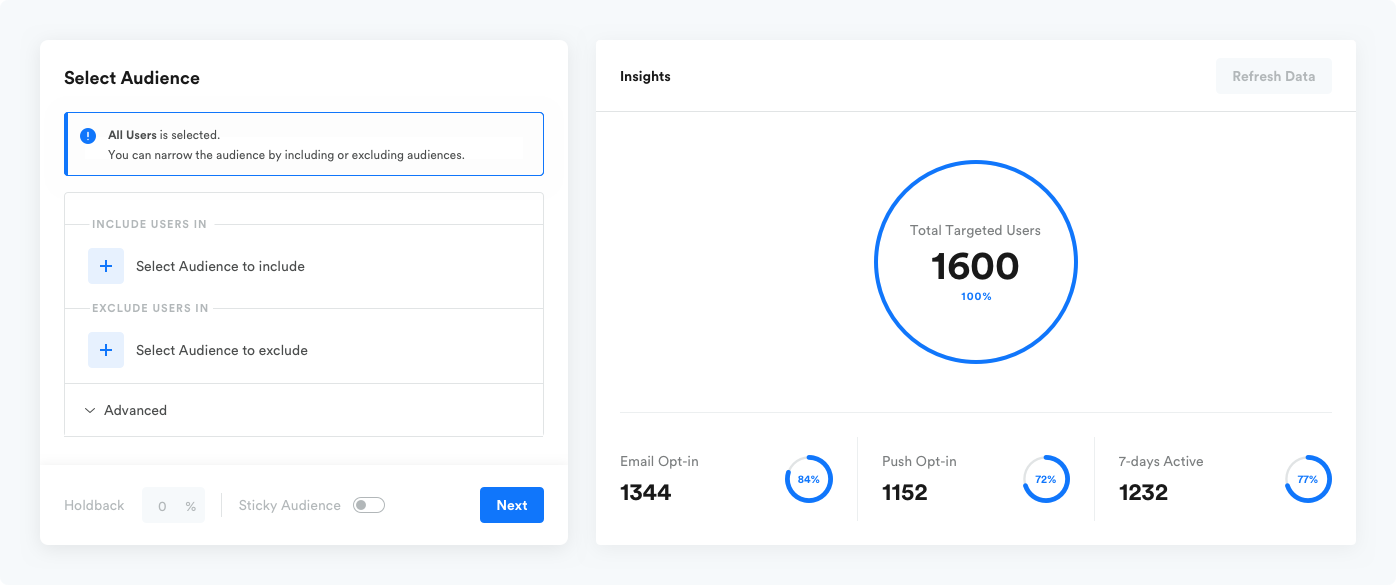
If you want to target a more specific audience segment, you would do so here.
Know your channels to reach your maximum audienceCheck out the charts on the right for estimates of how many users are registered for push and email. You can use this information to decide which channel is best for your messages.
See Audience for more on the Audience selector.
3. Delivery Method: Triggered
- In the Delivery step, choose Triggered delivery to send this campaign based on each specific user's behavior.
- Select campaign Start time. End time is optional.
- For the Delivery Trigger setting select a trigger event User starts or resumes app.
The checkboxes below the trigger event are all optional settings, so we'll skip these for now. Take a look at Delivery for more on these settings.
- For Conversion events, select User starts or resumes app. This is the activity we want to drive with the campaign, and the conversion event will determine the campaign's conversion metrics. Once users perform the conversion event, they'll exit the campaign.
Users who perform the conversion event after receiving the first message will count as conversions in Analytics. Users who perform the conversion event before receiving the first message will simply drop out of the campaign.
Campaign re-entryAfter a user converts, they will be able to re-trigger the campaign on their next session.
- Set an Attribution window. The attribution window determines how long users have to convert after their last interaction with the campaign. The default setting is 7 days, but you may want a shorter attribution window depending on your preference.
4. Actions: Email and Push (omnichannel)
Now we can start building out the messages and actions we want to send.
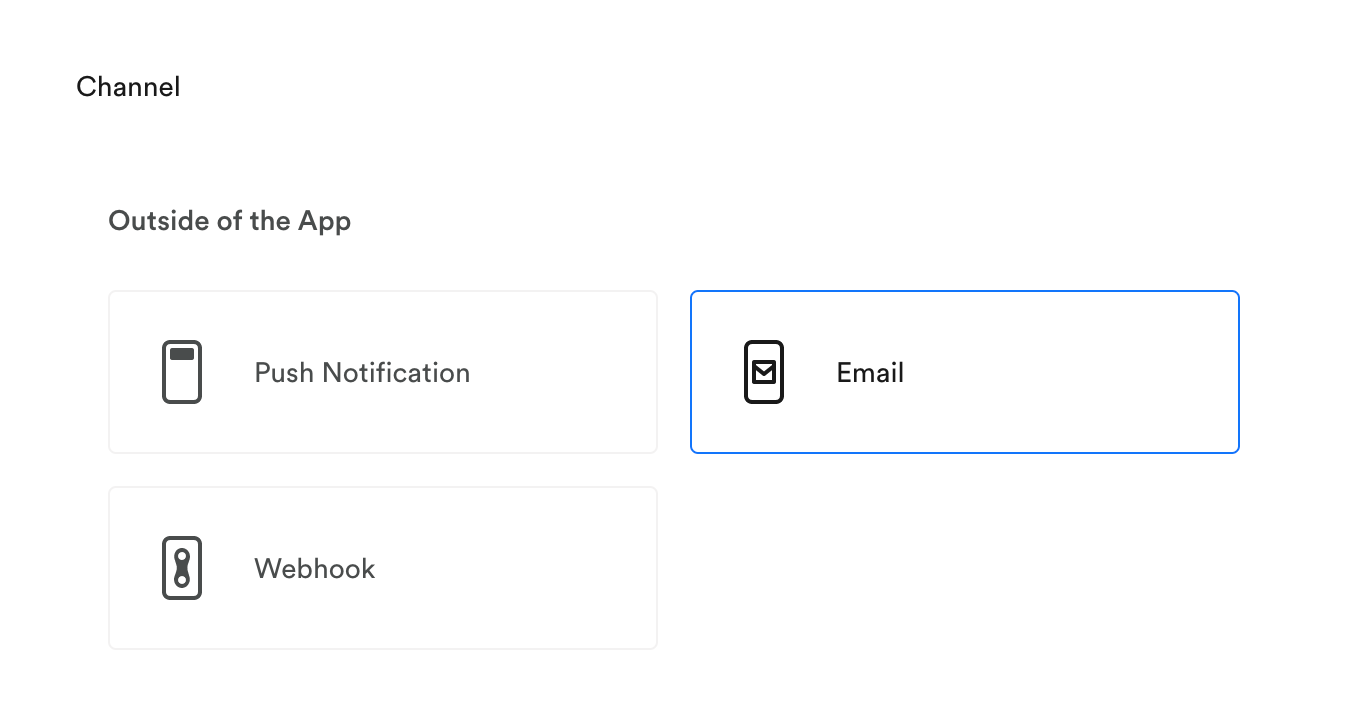
In the Actions step, select the messaging Channel you want to start your campaign with. Since dormant users aren't in our app anymore, Email is a good option.
Choose a template and edit your email's content. Personalized messages are more likely to get attention, so consider using some personalized elements or emojis 😉. You might also try universal links to point users directly into your app.
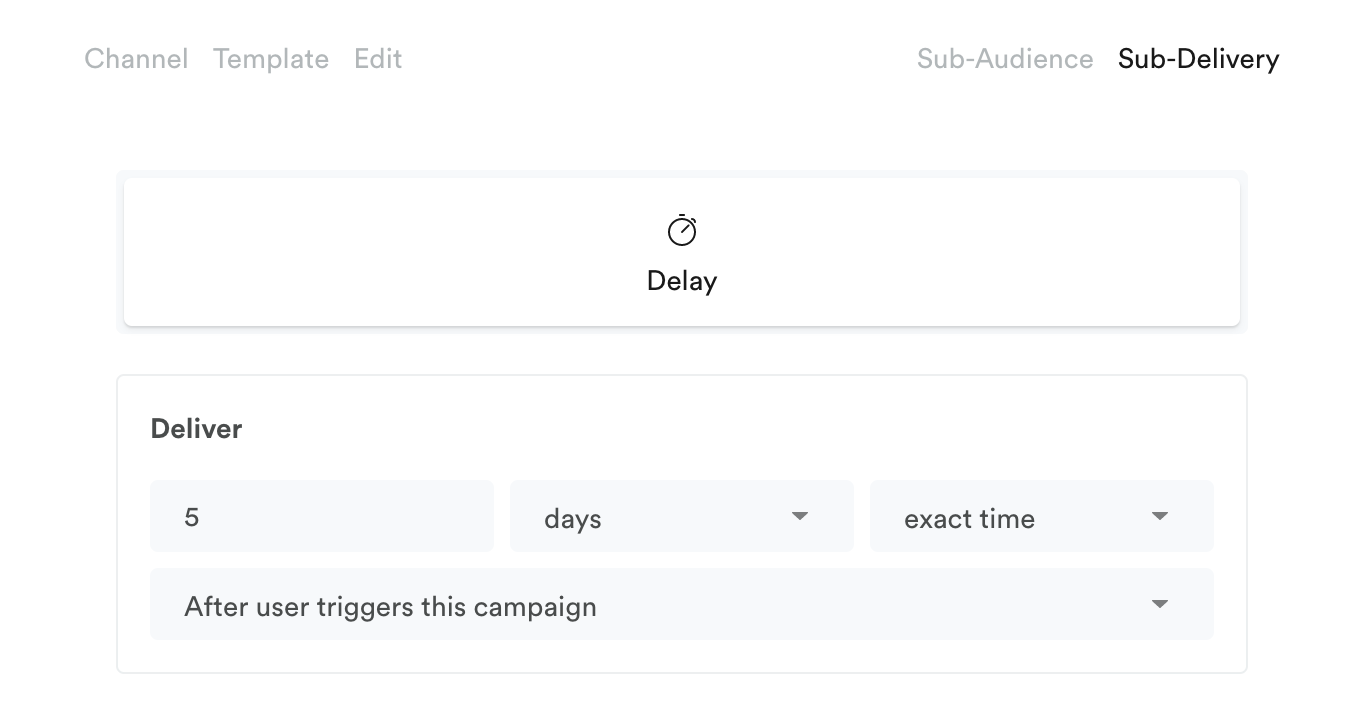
Next, edit the Sub-Delivery for the message. We chose a Delay of 5 days, which means users won't receive our message until 5 days after they start or resume the app (our campaign trigger event).
If our first email is unsuccessful at drawing users back to the app, send another message a few days later to encourage users to open the app again. To add another action, click the + button below your first action.
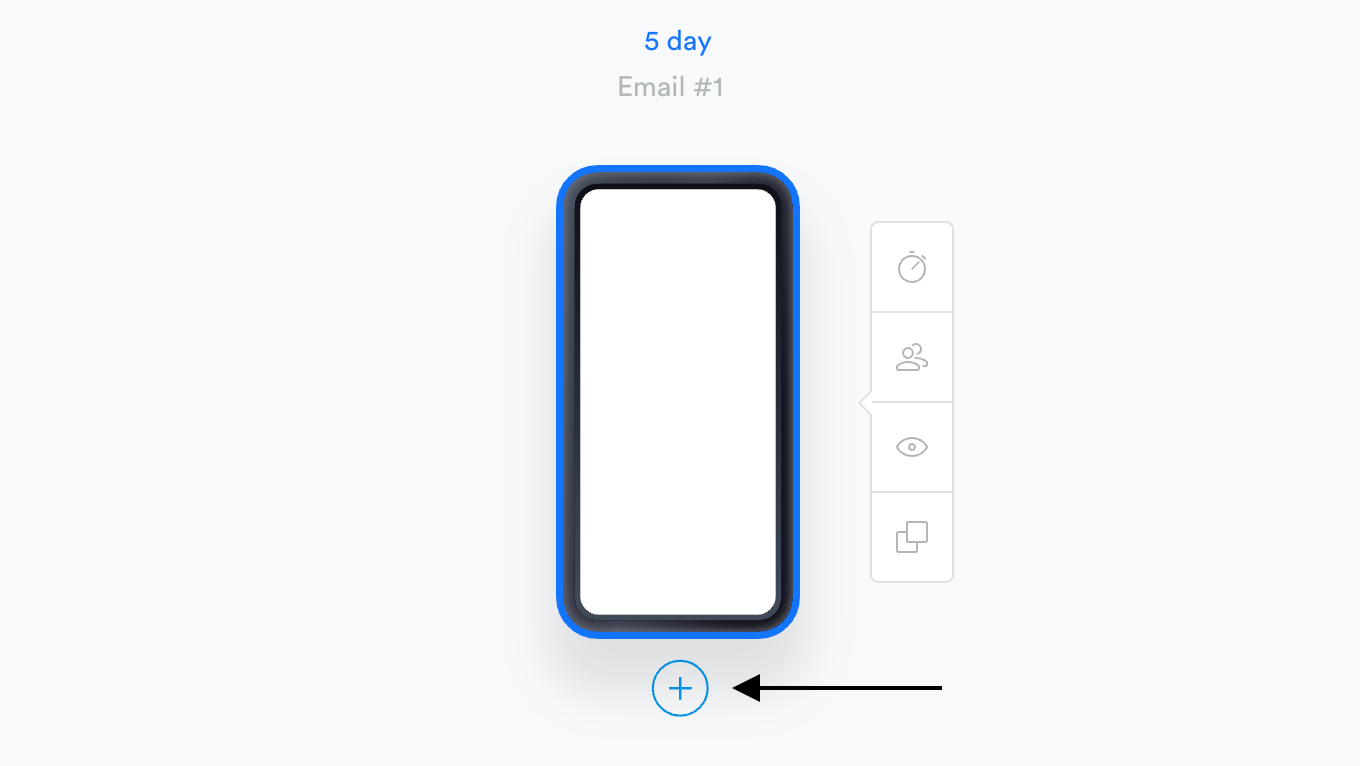
Now, select the Email Channel again and edit your content for the second message. We'll try sending something a little different than our first email, since that didn't engage our user. Set the Sub-Delivery for a delay of 3-5 days or whatever you see fit.
Different users respond to different messaging channels, so we may want to include push notifications in our re-engagement plan. To create a new path for users, click the branch icon at the top-level of your campaign.
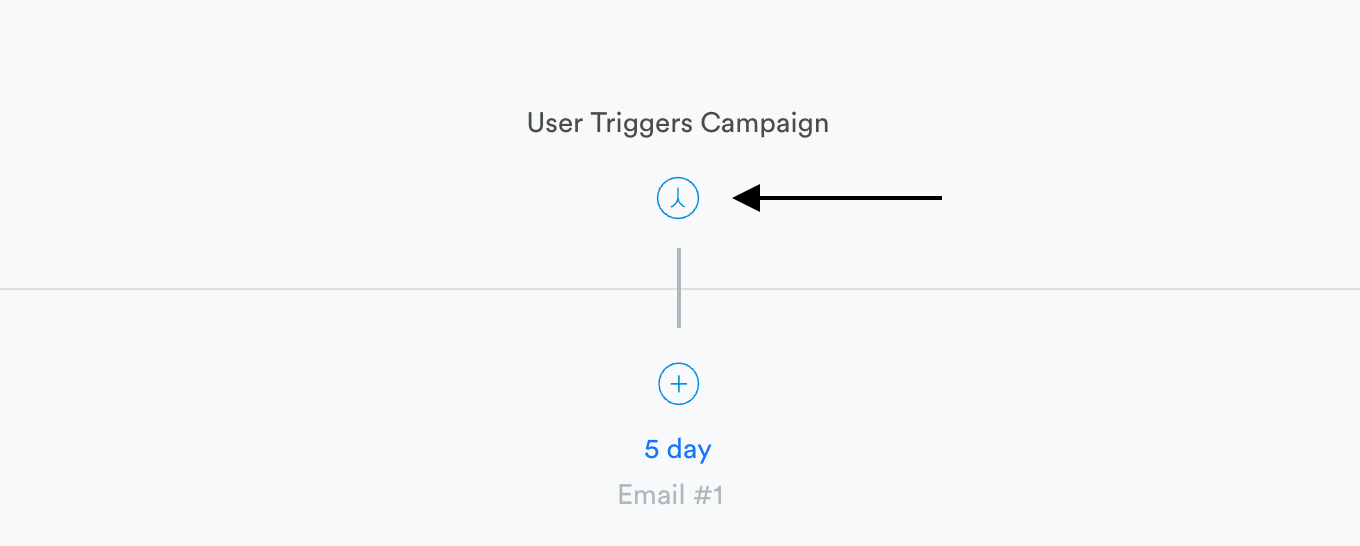
For our Channel, we'll choose a push notification this time. Now we can edit our content and add emojis to try to drive users back into the app 😘.
We will leave our Sub-Audience as "All Users" — no changes needed there.
Users who are enabled for both push and email will receive both branches of the campaign. If you only want users to receive one or the other, set up Sub-Audiences to specify which users can receive each action. For example, users whose "User attribute email is not set" could get the push notifications instead of emails.
Now we'll set our push's Sub-Delivery for a few days after campaign start. We sent the push notification on a different day than the email reminder to avoid over-messaging our users.
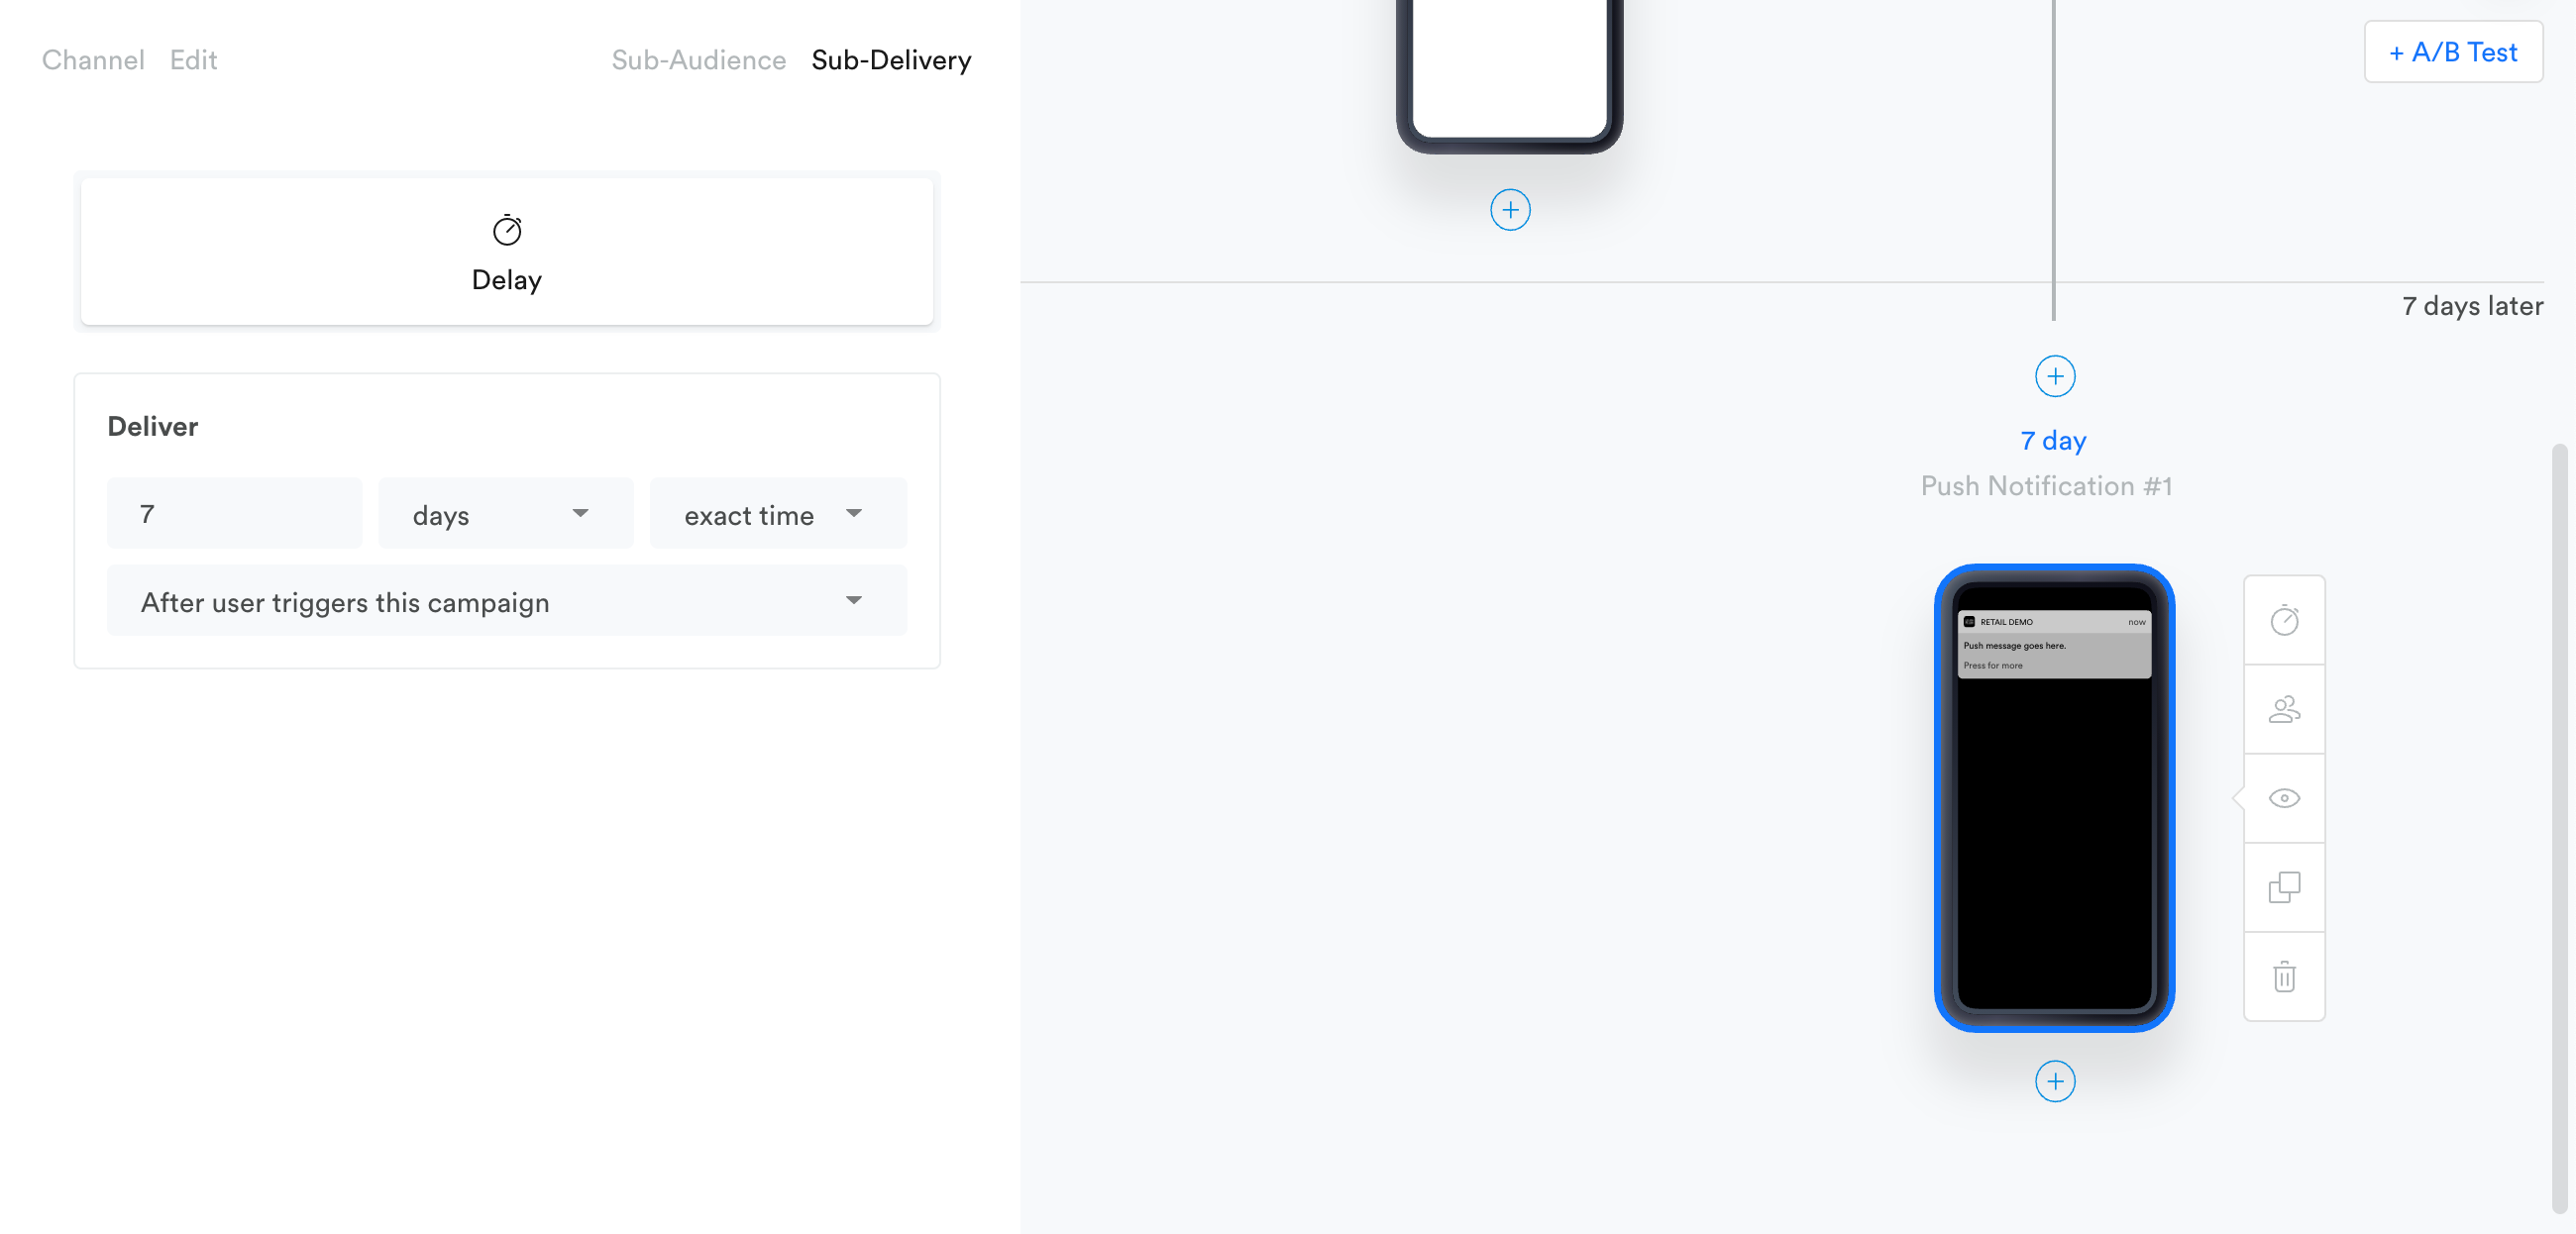
In case the first push doesn't draw users back into our app, we can add another push a few days later, and another one after that. Use the + button to add another action, then edit your content and Sub-Delivery settings for each push notification.
Once you are happy with your message settings, we recommend previewing each message on a test device to ensure they look exactly how you want them to.
5. Review and publish campaign
Now that the campaign is built, go to the Summary to review campaign settings and start the campaign.
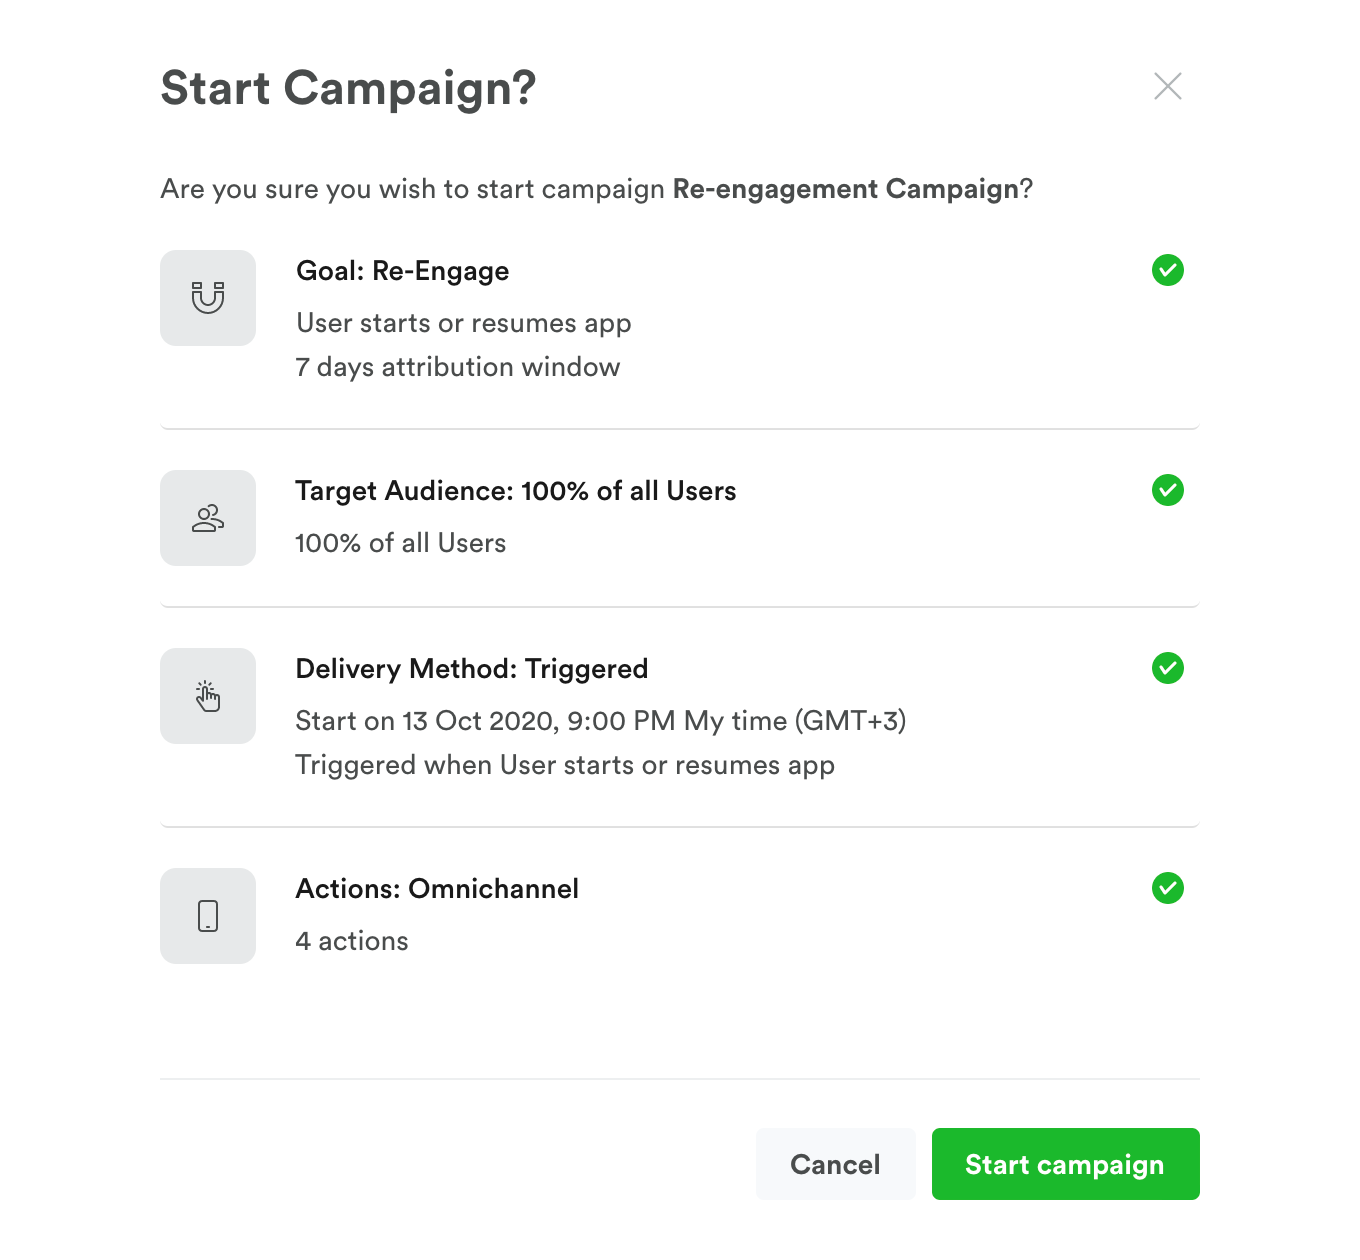
You can click any section in the Summary to return to that portion of the composer.
Click Start campaign to start your campaign, and now you are good to go!
After Leanplum collects some data, you can start reviewing Campaign Results.
Updated 5 months ago
