How to increase push notification opt-ins
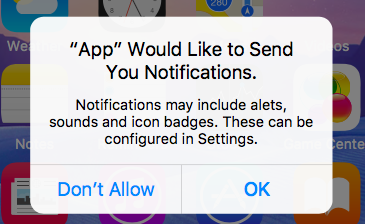
Unlike Android users who are opted in to receiving push notifications automatically, iOS users must explicitly give your app permission to send them pushes. On average, only 42 percent of iOS users opt in to push notifications. And, once a user opts out by selecting "Don't Allow," your app cannot ask for permission again; the user can only opt in from the iOS Settings app, which requires multiple steps.
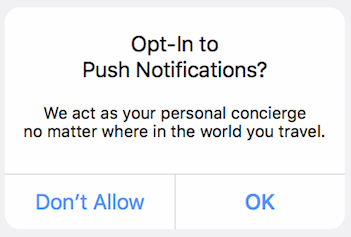
Luckily, you can greatly improve the number of iOS push opt-ins by using a Push Pre-Permission, an in-app popup message you can customize to explain why your user should allow push notifications.

Using Push Pre-Permissions has been shown to increase push notification opt-ins by as much as 182 percent.

Leanplum allows you to send targeted, triggered Push Pre-Permission campaigns. This allows you to:
- Ask for permission at the right time, and experiment with when to ask certain users.
- Customize the message text to explain the benefits of push notifications in your app.
- Postpone iOS's permanent "Don't Allow" prompt.
- A/B test message content and timing to ensure you're getting the best results.
Key Strategies
Ask at the right time
It's best to ask for permission when the user is engaged with your app, especially after a fun or positive experience (so they'll see the value in subscribing to push notifications).
- For retail apps, send a Pre-Permission after a user makes their first purchase, or after they view a product or promotion. (Sample message: "Get real-time shipping updates with push notifications.")
- For travel, send a Pre-Permission after a user books their first trip or calls their first ride. (Sample message: "Enable push to get alerts about your flight.")
- For media, try after a user plays — or likes — their first video. ("Want new video recommendations? Let us send you push notifications.")
- For social, send after a user adds a new connection, likes something, or publishes their first post. (Sample message: "Enable push notifications to see when someone replies to your post!")
A/B test it
In Leanplum, you can easily A/B test the use of Push Pre-Permission. This lets you measure how successfully Pre-Permissions have increased push opt-ins for your app.
We recommend creating multiple Push Pre-Permission message campaigns targeted at different audiences. You should then A/B test each message against a control group that does not receive the Pre-Permission message. This way, you'll see which technique had the greatest improvement versus the default of not sending a message.
Example
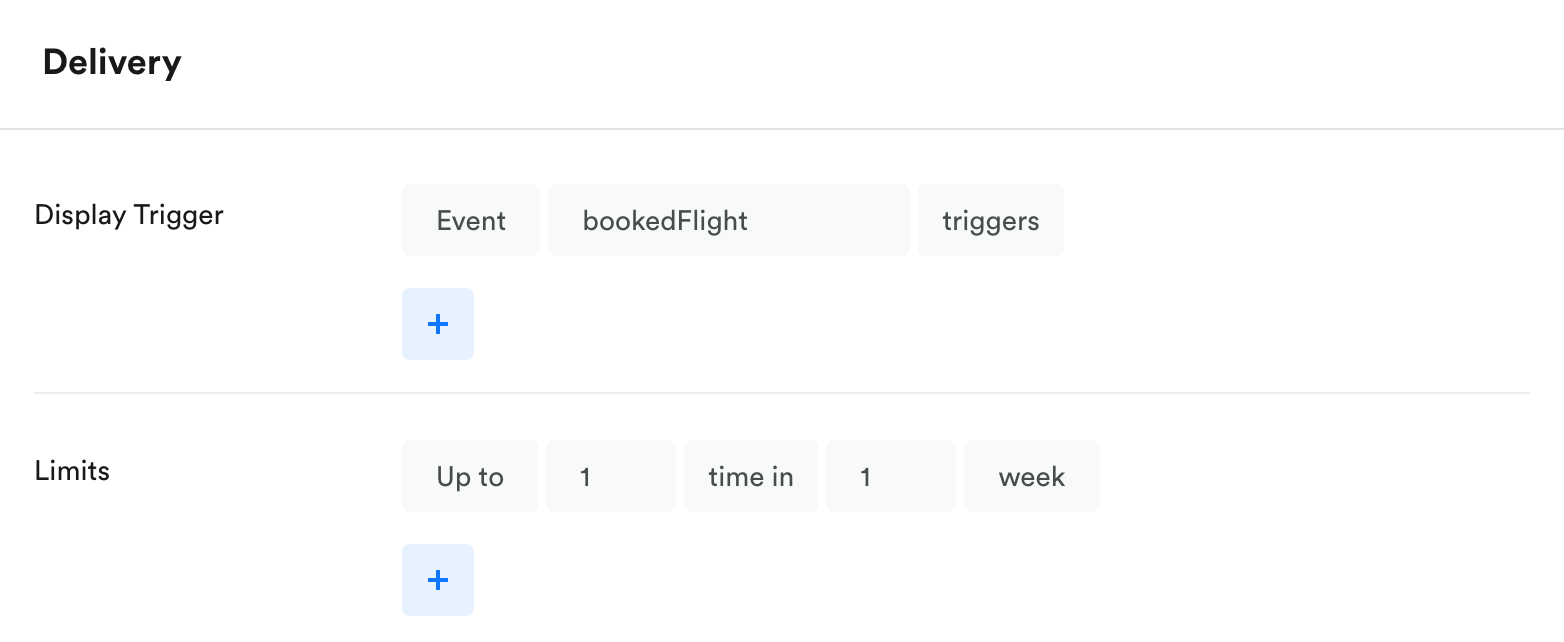
For our travel app, let's send a Push Pre-Permission after the user books their first flight. Note: for this example, we must track a Leanplum event called "bookedFlight" when a user books their first flight in our app.
In Campaigns, create a new Push Pre-Permission single message campaign and simply set your display criteria to "User triggers Event" with the event name defined as "bookedFlight". For a refresher on creating in-app messages, see In-app messaging.

The default Audience is "All users," but you can limit the audience to a specific user segment. If we only want to send this to US customers, we could use the Localization > Country audience rule.
You do not need to limit the audience using "push support is off." The Push Pre-Permission will, by default, only send to users that have not opted in to push notifications.
Next, add this message to an A/B test, and verify that the Pre-Permission message is disabled in the control group. See A/B testing a message for more.

Updated 5 months ago
