
Custom Unsubscribe page
To enable or edit a Custom Unsubscribe page, go to the App Settings page, and then select Email. In this screen, you can see which Unsubscribe page is in use for the selected App, and you can enable or edit the Custom Unsubscribe page.
Unsubscribe page types and statuses
By default, email campaigns use the default unsubscribe page, marked as System. To enable the custom unsubscribe page for the App, click the Edit and use... button. You can always switch back to the system unsubscribe page.

Changing the currently in use unsubscribe page has immediate effect, even for previously sent campaigns.
Edit the Custom Unsubscribe page
To make changes to the Custom Unsubscribe page, press the Edit and use… button that navigates to the HTML editor.
See the HTML editor section for further details here.
You may use the following contextual values to print or to send to another API:
{{user_id}} - prints the current user ID that opened the page
{{message_id}} - prints the message ID for which the user clicked the Unsubscribe link
While editing the unsubscribe page, you can always refer to the Preview available on the right-hand side of the screen to ensure the right look and feel.
Make sure to call the Leanplum unsubscribe APIsAlways call the Leanplum unsubscribe API methods when the user updates their preferences. This will ensure the user email preferences are updated, and that unsubscribe events are tracked correctly.
To unsubscribe from all emails, call the
/unsubscribe_allendpoint:<script> fetch("/unsubscribe_all", { method: "POST", body: new URLSearchParams({ t1: "{{t1}}", t2: "{{t2}}", app: "{{app}}" }).toString() }); </script>To unsubscribe from a single category (the category of the email action), call the
/unsubscribe_singleendpoint. The category is already included in the parameters.<script> fetch("/unsubscribe_single", { method: "POST", body: new URLSearchParams({ t1: "{{t1}}", t2: "{{t2}}", app: "{{app}}" }).toString() }); </script>
Save or Discard changes
To save the changes made to the Custom Unsubscribe, press the Save draft button. Alternatively, you can revert any changes made by using the Discard button.
Set as Default
To set the Custom Unsubscribe page as default, enter the edit mode (Edit and use…) and click Save & Use as default.
Testing Custom Unsubscribe page changes
To test a custom unsubscribe page before enabling it in production, set up the template in a QA app and send a sample campaign. For more details, see Testing and QA best practices.
HTML editor functionality
Localization
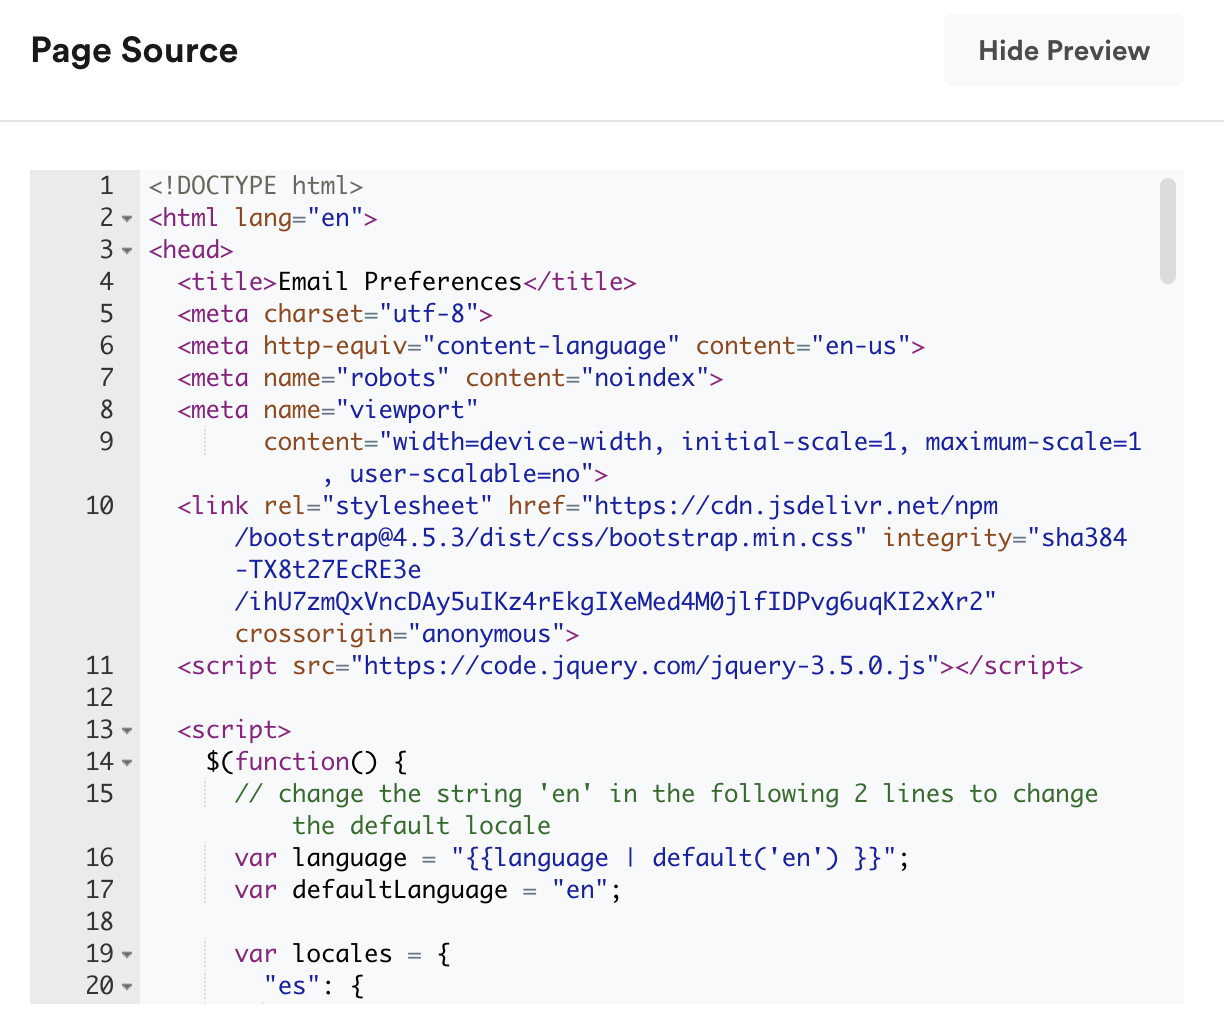
The unsubscribe page uses the locale from the email campaign.
Localizations are defined in JSON, and replace strings within the page.
<script>
  var locales = {
    // locale
    "es": {
      "unsubscribe-from":               	"Cancelar subscripción a",
      "update-unknown-email":           	"Actualiza tus preferencias de correo",
      "category-newsletter":            	"Boletín semanal"
    }
  };

  // if campaign {{language}} not set, default locale is "en"
  var lang = "{{language | default('en') }}"
  var locale = locales[lang] ? lang : "en";

  // ...
</script>

<body>
  <p data-string-id="update-unknown-email">Update your email preferences</p>

  <!-- ... -->
</body>
Names of email categories can be customized with the category-* localization strings. In the example above, the category-newsletter string is used to change the text of the newsletter category in Spanish (es).
To safely use email category names that contain whitespace and special characters, use the encode or urlencode Jinja filters:
<button type="submit">
  <img
    src="https://example.com/assets/unsubscribe-{{category_name | urlencode}}.png"
    alt="Unsubscribe from {{ category_name | encode }}"
  />
</button>
How-to: Embed a Survey form
You can embed elements hosted by 3rd party services such as surveys to collect information on why the users wish to unsubscribe.
<!-- This example uses a Google Form to collect feedback -->
<iframe
    src="https://docs.google.com/forms/d/e/YOUR_FORM_ID/viewform?embedded=true"
    width="100%" height="400"
    frameborder="0" marginheight="0" marginwidth="0">
        Loading…
</iframe>Survey forms that require certain browser permissions may not look right in the Preview area. If the survey does not display, create an email campaign and send a preview to test out the survey functionality.
Updated 11 months ago