Rich interstitial message
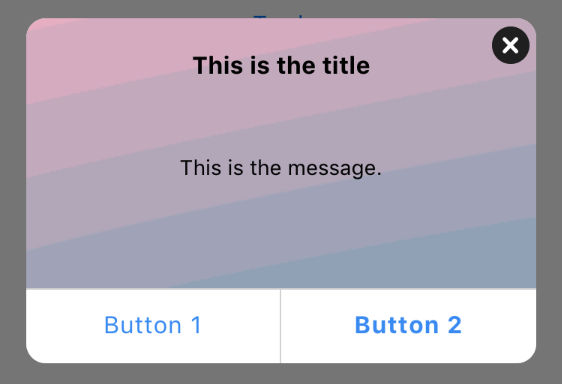
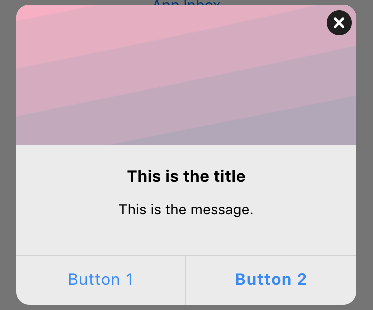
The rich interstitial message is a more flexible version of our standard interstitial in-app message. In addition to the interstitial background and hero images, rich interstitials can support up to two buttons (each with their own open action), as well as a close button in the top right corner.

Rich interstitials are perfect for asking users to accept or ignore (close) a full-screen message, like accepting updated terms and conditions.
Create a Rich interstitial
Create a new action, then select In-app as the action type. Choose the Rich interstitial template.
Compose the message. Enter the message title under Title > Text value, then enter the message text in Message > Text value. It’s best to keep the length to a minimum, but you can increase the height of the message to accommodate longer messages.
Add button actions. Button actions determine what happens when the user selects a button. Under Select button 1 action and Select button 2 action, choose either Open URL, Register For Push, or Chain to a new message.
Change the style
Change the message dimensions. You can set the height and width of the message in absolute px or %. We recommend testing your message on a variety of devices in portrait and landscape to make sure it will render well for all of your users.
Add a hero image. You can add a hero image above the title and message. Click Hero Image > Image to open the Image picker, then select the desired image. You may need to adjust the message height to make room for the image.
Avoid using special characters (such as underscores, apostrophes, or brackets) in the image file name. The image will not be displayed in the Rich interstitial message if its file name contains special characters.

Customize with HTML/CSS
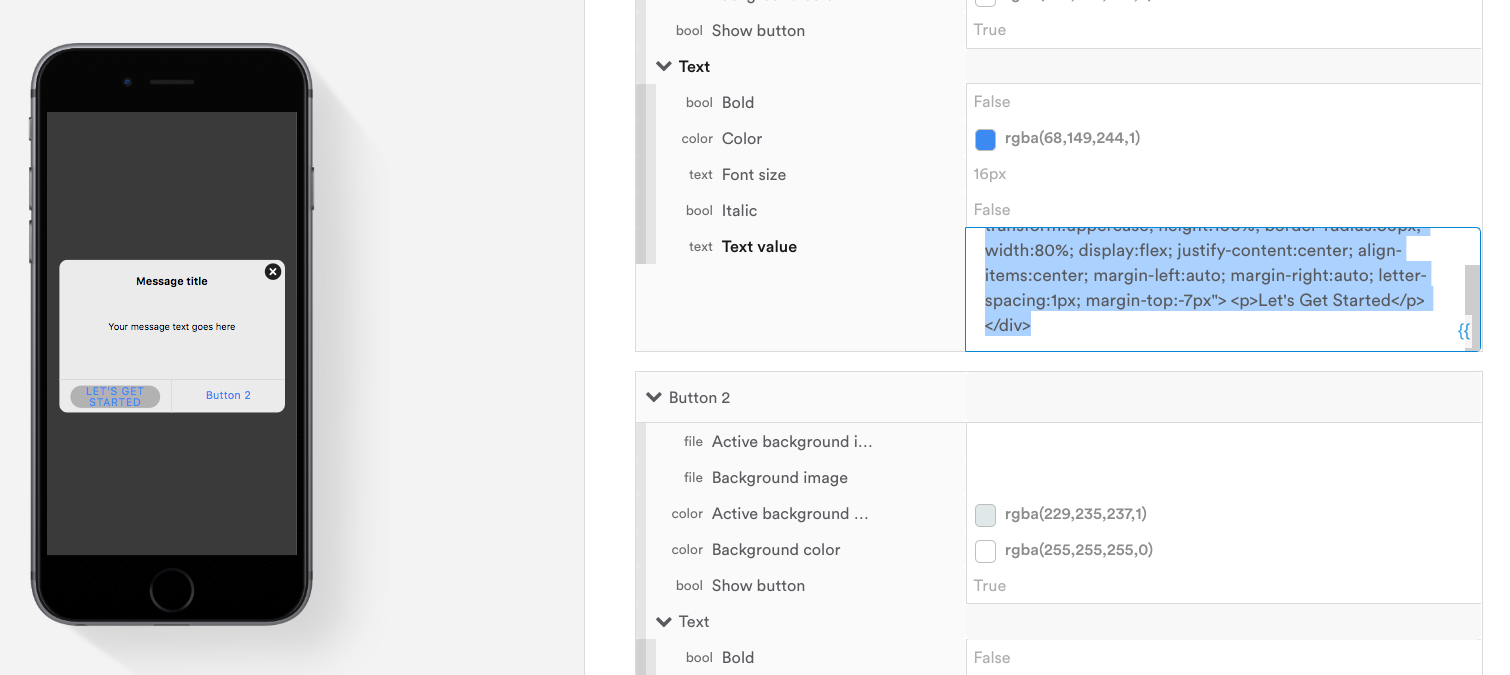
You can use your browser's developer tools to inspect the HTML of the message preview on the left. Later, in any of the text fields, you can use HTML/CSS code to further customize your rich interstitial message.

HTML making the left button's text larger and highlighting it in gray ("LET'S GET STARTED").
Image size
Be sure the aspect ratio of your image is equal to the aspect ratio set in the Composer (width:height). The default aspect ratio is 340:140. For best results, leave the hero width set to 100% and use the message width to make adjustments. Remember, changing the message width will change the hero image's aspect ratio. Widening to 400px, for example, would change the required ratio to 400:140.
Remember, changing the message width will change the hero image's aspect ratio. Widening to 400px, for example, would change the required ratio to 400:140. If your image has a different ratio, it will be scaled and letterboxed (see background-size: contain in the MDN docs).
Add a background image. You can add a background image behind the message text and buttons. Click View > Background image to open the Image picker, then select the image.
Be sure the aspect ratio of the image is equal to that of the message itself (width:height). Otherwise, the background image will be letterboxed to fill in any gaps (see background-size: contain in the MDN docs).
If you set a background image, you might need to change the color and opacity of the submit button to make sure it is legible. The button is transparent by default, which can make it difficult to read on certain image backgrounds.
Add a video
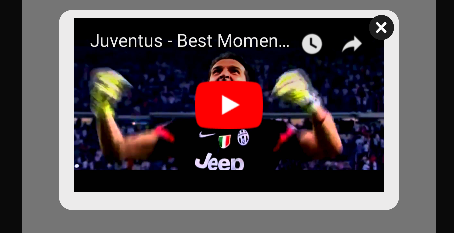
You can add video (Youtube, vimeo, etc.) by placing the embeddable code in Message > Text value. To ensure the video is aligned and sized properly, remove the height style attribute from the embedded HTML code and set the width to the width of the message itself (defaults to 340px).
For the best results, you may need to adjust the message height and/or hide the buttons by setting Show button to “false”.
To nudge the video up or down inside the message template, add another "div" with a margin setting. See the example below with the "margin-bottom" set for -20px.
<div style="position:relative;height:0;padding-bottom:56.25%">
  <iframe src="https://www.youtube.com/embed/h1Lfd1aB9YI?ecver=2" width="340" frameborder="0" style="position:absolute;width:100%;height:100%;left:0" allowfullscreen>
  </iframe>
</div>
<div style="margin-bottom:-20px;"></div>
Updated 3 months ago
